Retaining walls are a fantastic addition to any garden, offering both functional and aesthetic benefits. They not only provide essential support to prevent soil erosion but also create beautiful, level spaces for gardens, patios and more. With the right approach, a retaining wall can also significantly enhance your property’s value and visual appeal. Here’s our comprehensive guide to help you build a stunning retaining wall that will stand the test of time.
Understanding Retaining Walls
What is a Retaining Wall?
A retaining wall is a structure designed to hold back soil and manage slopes in your landscape. They are crucial in preventing soil erosion and managing water runoff, especially on properties with steep inclines.
Types of Retaining Walls:
- Gravity Walls: These rely on their weight to hold back the soil. They’re often made from concrete or stone.
- Cantilevered Walls: These use a concrete slab for support, ideal for larger projects.
- Anchored Walls: These are reinforced with deep anchors, perfect for taller structures.
Common Materials:
- Concrete Blocks: Durable and versatile.
- Natural Stone: Offers a rustic look.
- Timber: A budget-friendly, natural option.
Tips for Choosing Materials:
Go for durable, weather-resistant options. This ensures your wall can handle the elements and looks good for years to come.
At Apex Masonry we offer BoldStone, TrendStone, Classic and Durahold retaining wall systems that are highly flexible and built to last.
Planning Your Retaining Wall
Assess Your Needs:
Before you start, look at your garden’s layout. Do you need a wall for soil erosion, to create garden beds or for aesthetic reasons?
Choosing the Best Spot:
Pick a location that benefits most from the wall, considering sunlight, water sources and existing garden features. Some retaining walls will require underground construction such as vertical posts so be sure to check what’s under your soil well in advance of breaking ground.
Design Considerations:
- Height and Length: This should be based on your garden’s slope and your design.
- Drainage: Proper drainage is essential to prevent water pressure build-up.
- Load: Factor in soil, water and any additional weight to ensure your retaining wall is sturdy and safe.
Safety and Regulations:
Check local building codes to see if you need a permit, especially if you have plans for a tall wall. If your retaining wall will be over a metre, you will require the services of an engineer.
Getting Started: Materials and Tools
What You Need:
- Materials: Concrete blocks, gravel, sand, drainage pipes, adhesive for cap blocks.
- Tools: Shovel, level, tape measure, rubber mallet, compactor (optional).
Step-by-Step Guide to Building a Retaining Wall with Blocks
Step 1 – Preparing the Base
Mark out the ground and dig a trench to suit your block size. Fill the trench with a road base and compact. Cover the road base with 25mm sharp sand or crushed blue metal. Screed to a true level.*
Step 2 – Laying the First Course
Place the wall unit onto the prepared base. Make sure 50mm of the first block is below the finished ground level.**
Step 3 – Placing the Drain
Place agricultural drainage pipe (Ag-pipe) behind the first course of the wall on a bed of drainage material. Outlet the drain through the wall at every low point, every 20 metres and around the ends of the wall.***
Step 4 – Placing Additional Courses
Continue laying subsequent courses following the same procedure as the first course. Place each course in a running bond with the course below (i.e. with the vertical joints from the first course units halfway along the second course units).
Step 5 – Backfilling
Backfill behind the wall using 10-20mm drainage material (10-20mm gravel), maintaining a high compaction rate.
Step 6 – Laying Capping Units
Once backfilling and cleaning is complete, place capping units in running bond, fixing them to top of wall using adhesive. For domestic wall installations, a waterproof construction adhesive is recommended. For high use areas, a 2-part epoxy is preferred.
Step 7 – Surface Drainage Layer
Place 100-150mm of clay impermeable layer (or similar) on top of the wall fill to divert water away from the face of the wall.
Installation Hints
* For additional strength, fill the trench with concrete. Screed to a true level, starting from the lowest point if the wall is stepping up. Don’t make the concrete mix too wet otherwise the blocks will sink into the mix.
** It is essential that this first course of units is placed accurately to string line and levelled using a spirit level.
*** Make sure that the drainage pipe has roughly a 1 in 100 fall (1cm drop over 1m length of wall).
Final Touches
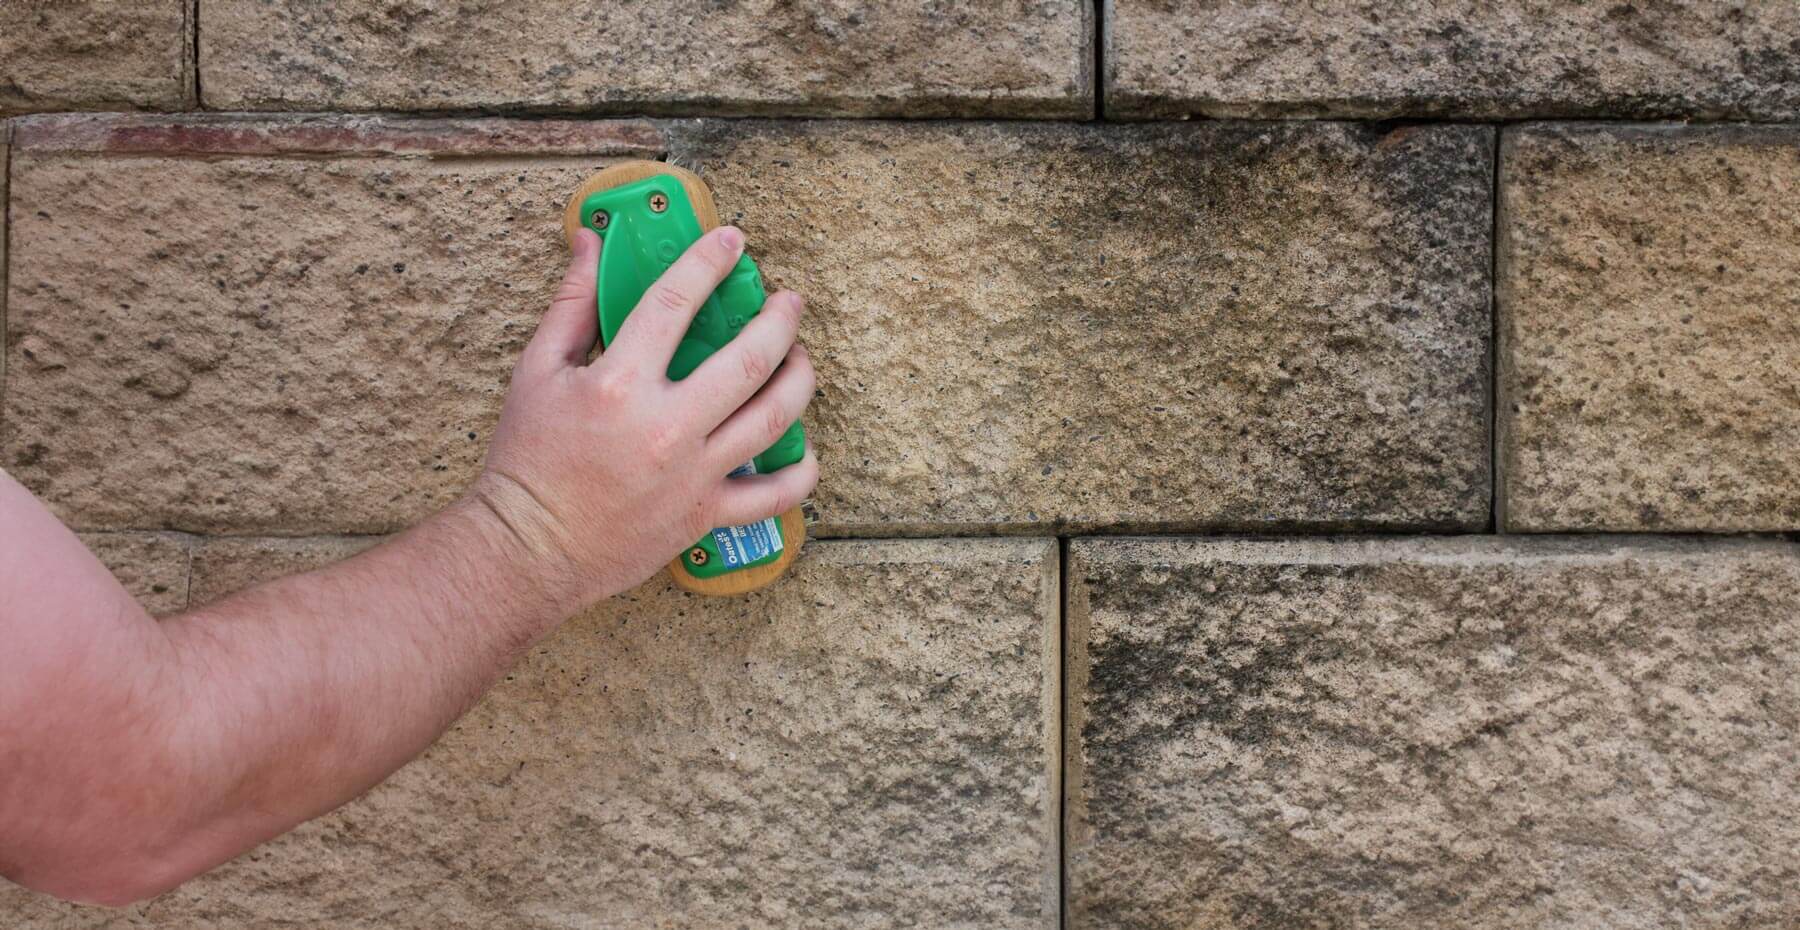
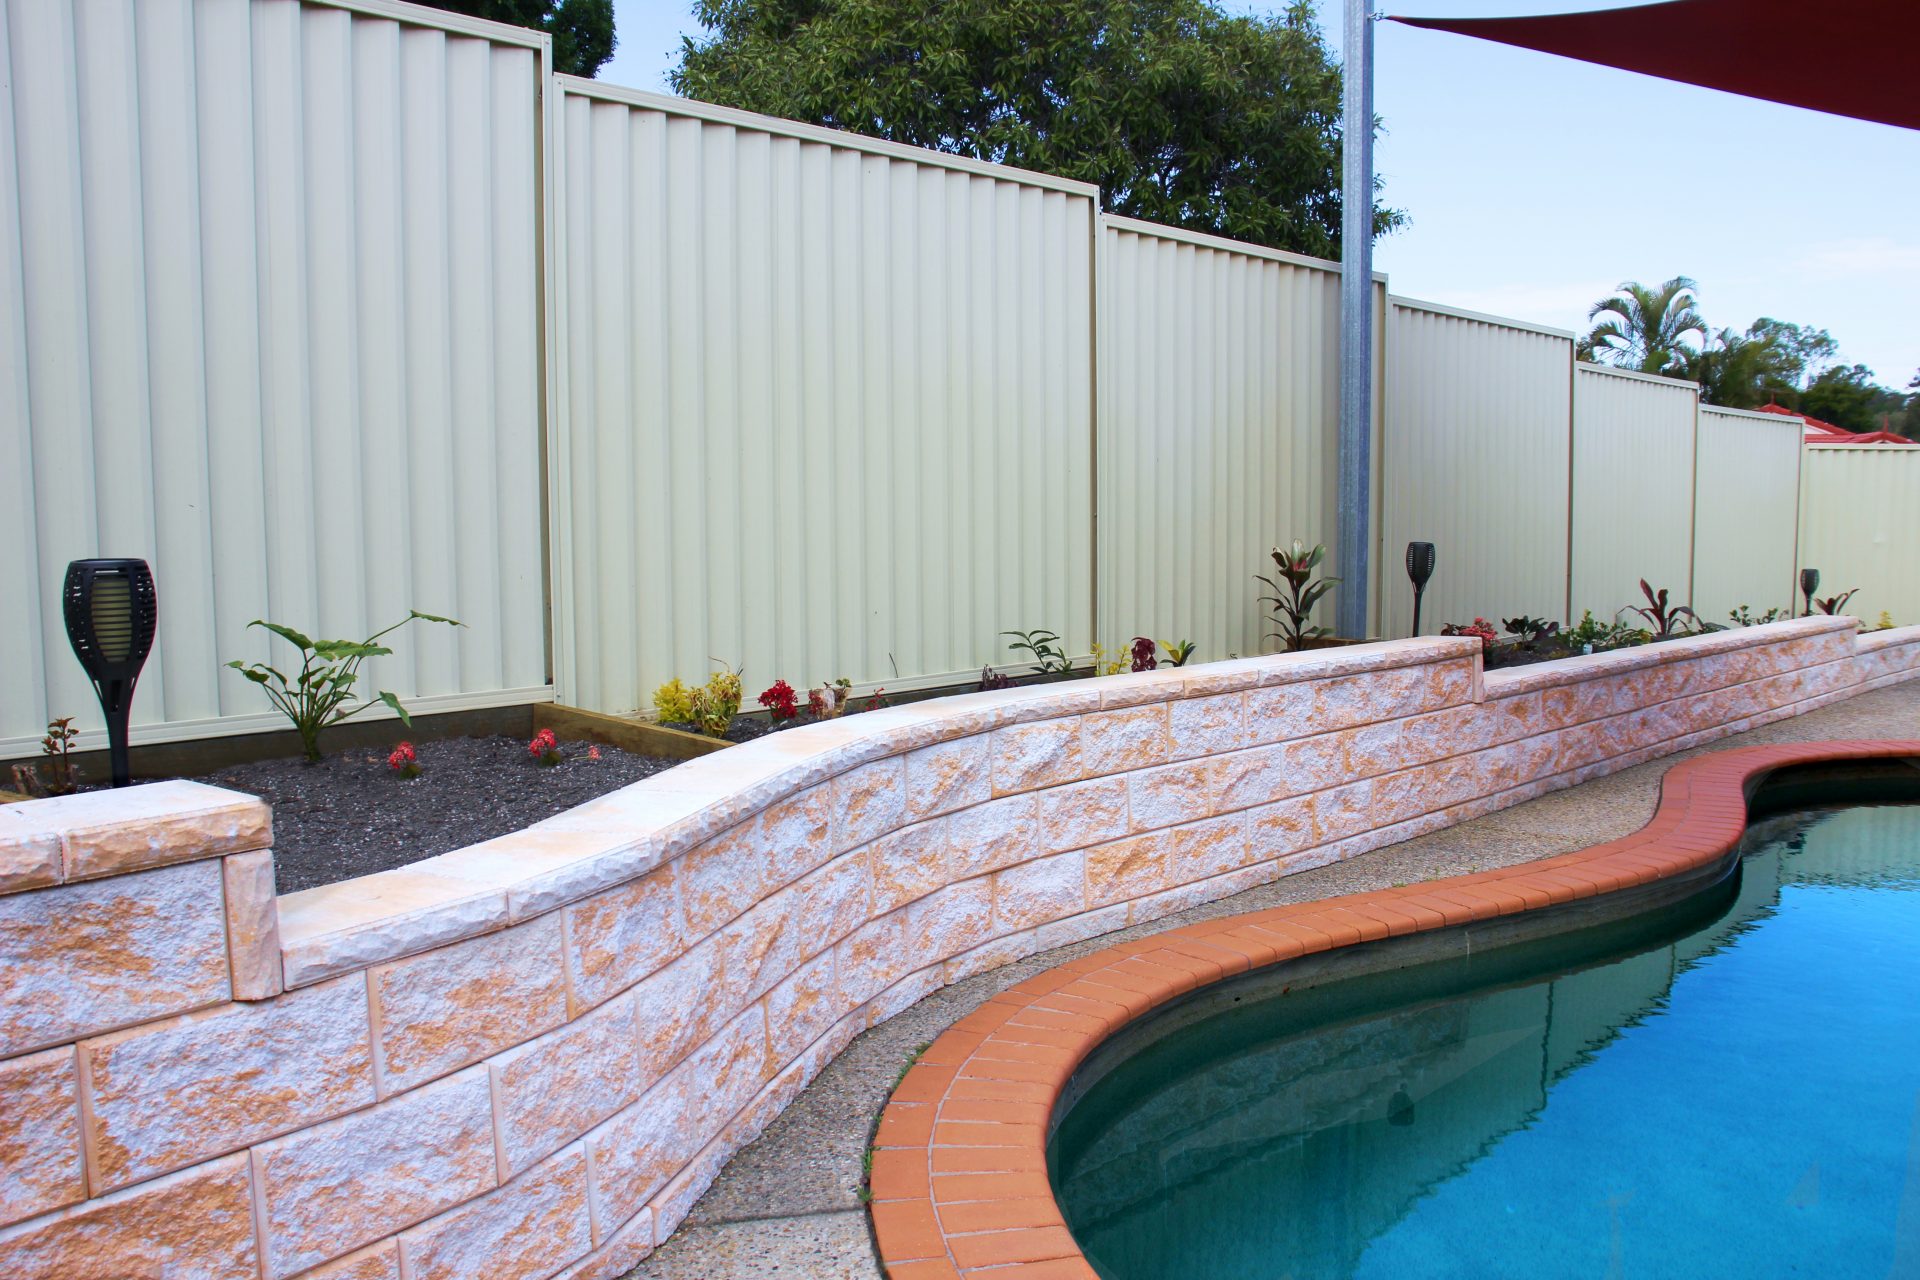
Enhance your wall with plants or lighting. Regular maintenance, like checking for damage and cleaning, will keep your wall looking great and extend its lifespan.
Building a retaining wall can be a rewarding project that adds value to your property. For expert advice and top-quality materials, reach out to Apex Masonry. We’re here to help you create stunning and durable retaining walls.


